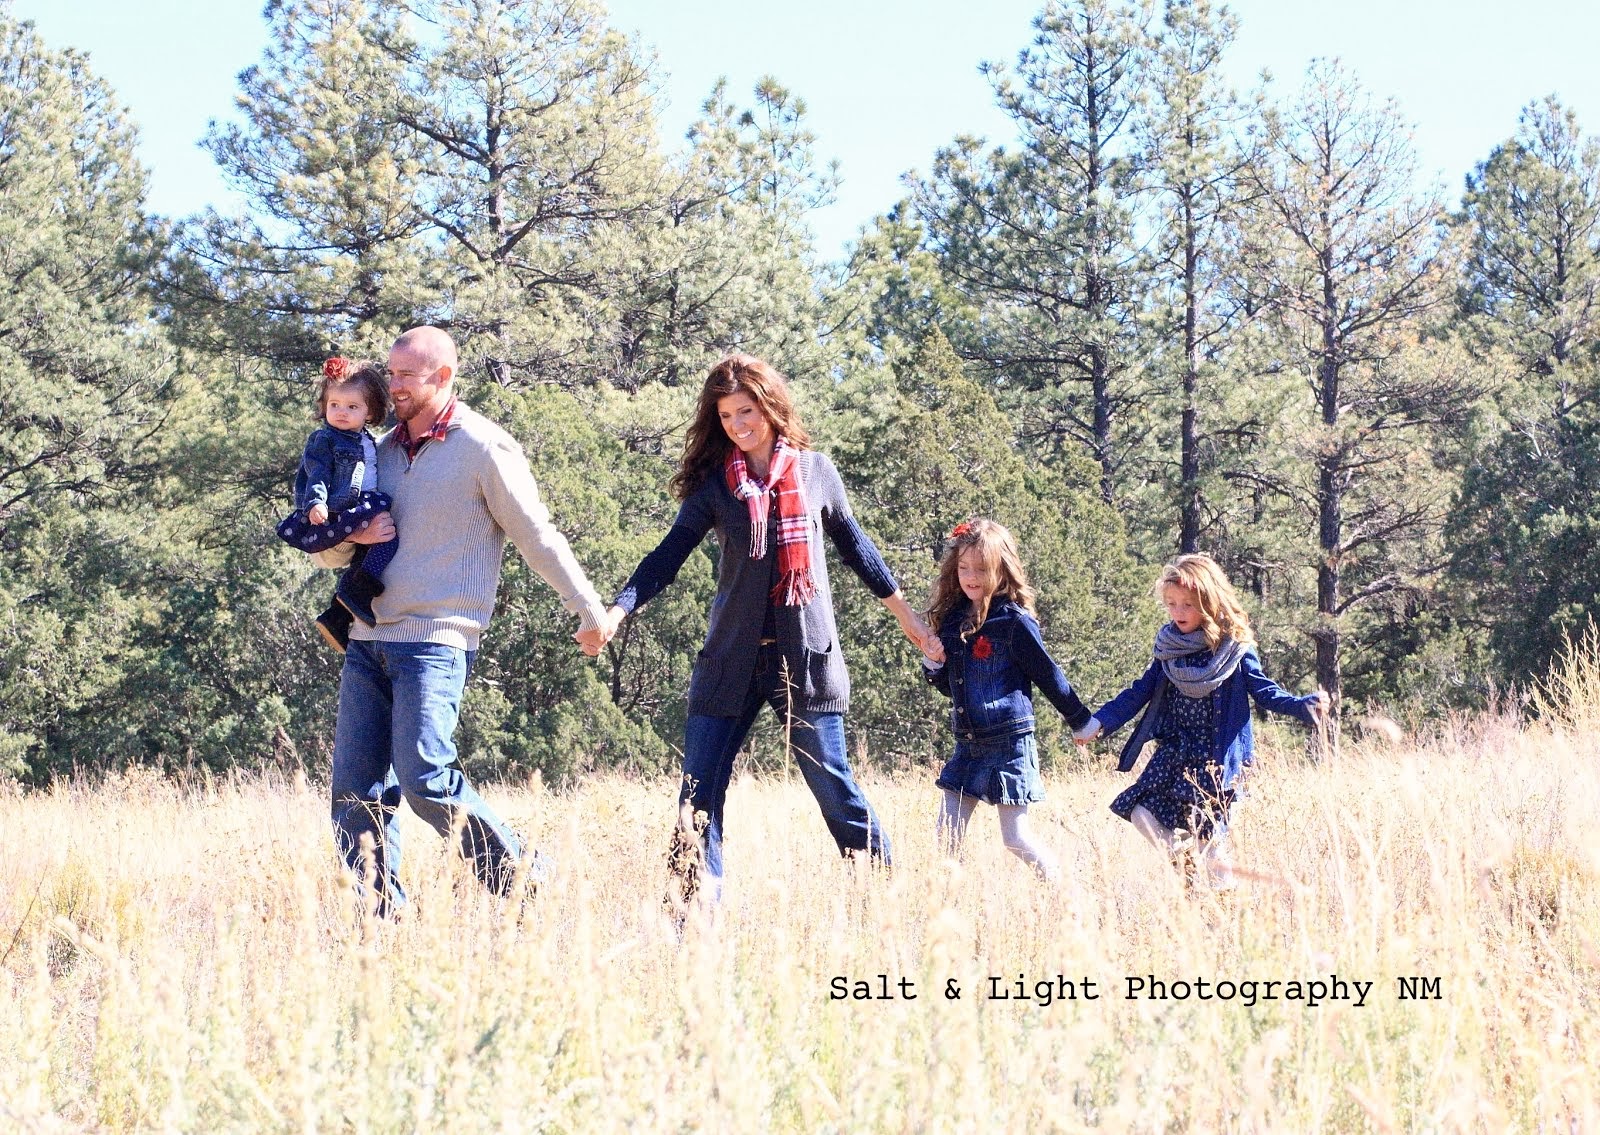
There is no denying my fascination with Pinterest! Though I've spent way to many hours scouring its pages, I have been left with inspiration to craft, cook, and try new ideas. Here is just a little of what I have done so far.
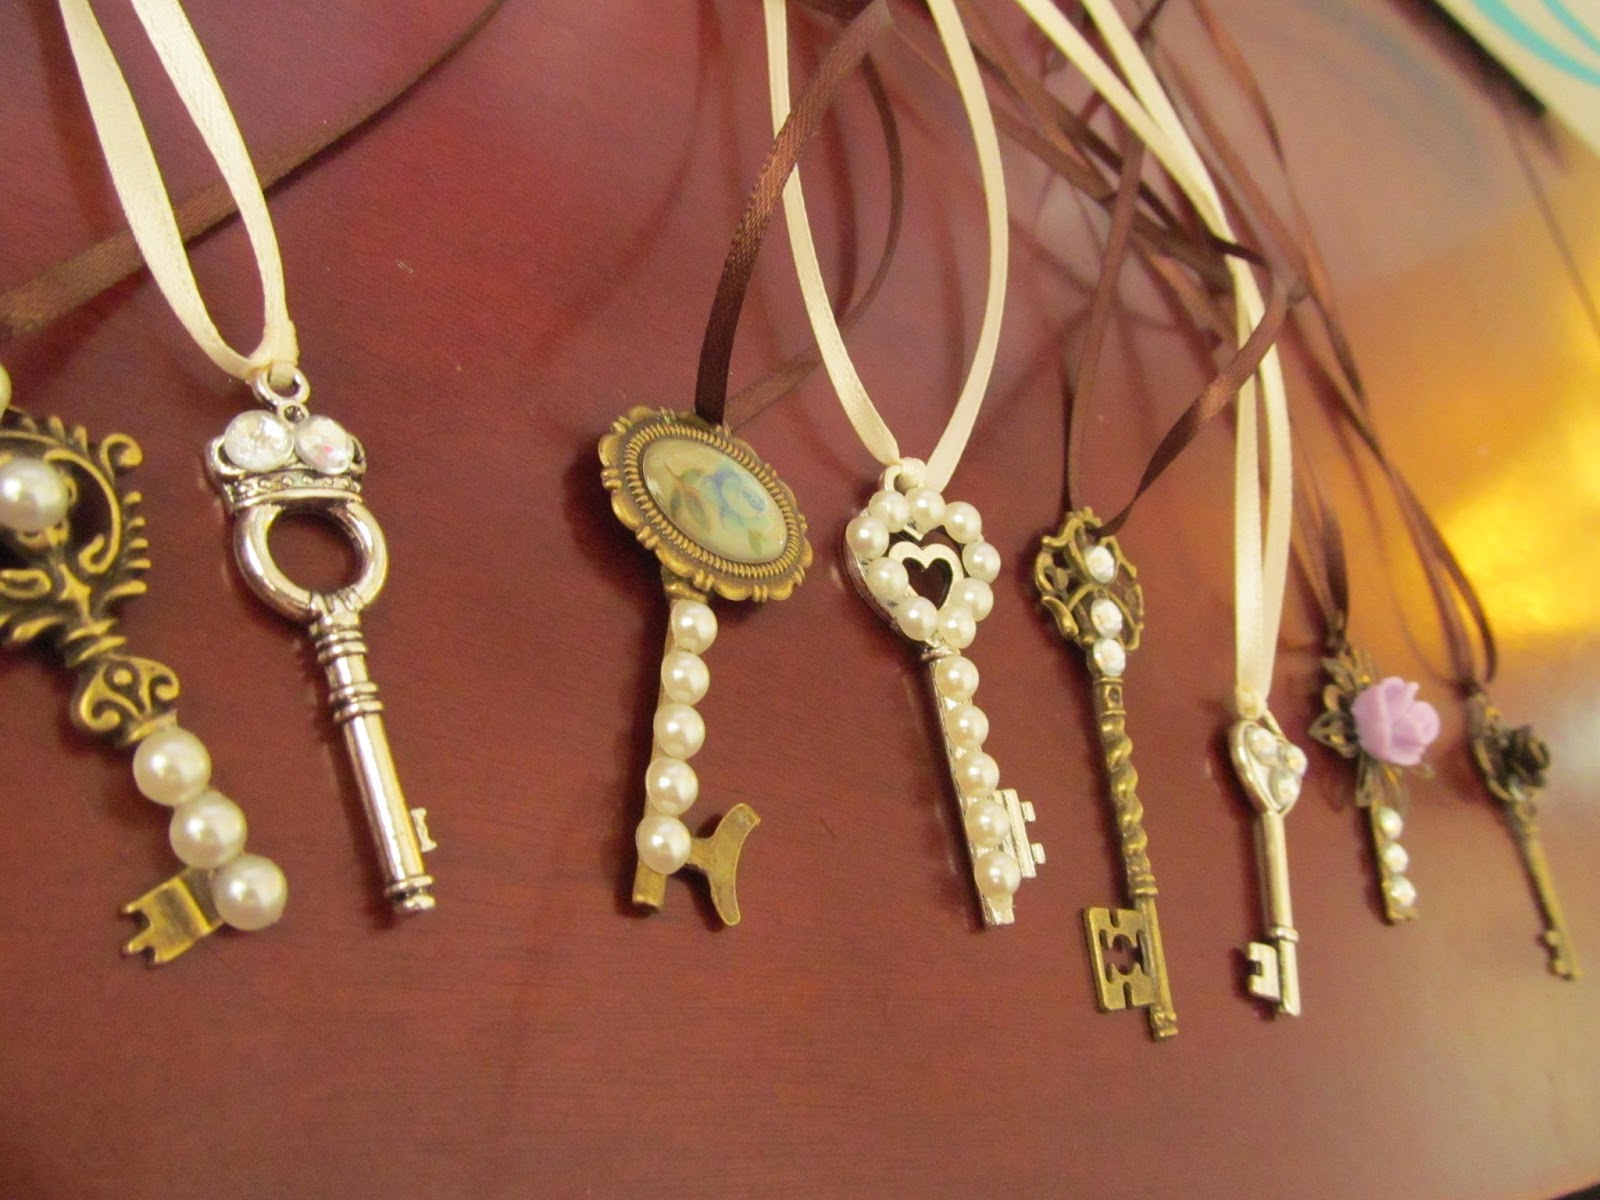
These keys were fairly easy. The packages of skeleton keys at the craft stores were just a little too much because I needed quite a few because I was going to do this for Christmas presents. So I looked online and there were great deals on buying the keys in lots and they were cheaper. I bought all the jeweled accessories from Hobby Lobby and glued them on the keys with permanent glue. I then just tied them onto thin ribbon for using as a necklace. I had wanted to find a chain to use instead but they were too pricey for having to do so many, but I think the ribbon actually gives it a nice effect. Here is my original pinspiration:
Keys
I made this shirt for Gracie for Valentine's Day. There wasn't just one pin that I used for inspiration, it was more of just the idea that I could refashion an old shirt and make it look brand new. There are a TON of great ideas on how to do this, so think twice before you throw out that old shirt. The pink shirt was originally my shirt. I took one of Gracie's old shirts to use as a pattern and just cut that size out of my shirt and sewed it back together. The hearts were cut out of felt and then sewn on. They actually helped to cover up some small holes that were in the material. I then had some strips of material that I used to make a ruffle which I attached at the bottom. The ruffle helped so that I did not have to finish the bottom.


Sorry these two are sideways. These were both for Valentine's too. We had a fun photo session outside and then I uploaded and created the final products from Walmart's photo center. The Valentine's ended up costing around the same amount as the pre-packaged sets at the store.
This is our house rules. This one didn't come out as well as I had anticipated. I printed the rules onto burlap but the burlap didn't go through the printer smoothly at first, so the first few words are not perfectly straight. Also, some of the fonts are much easier to read than others, but overall it really looks good once it was all said and done. I had spray painted the frame some time back and added the flower using a glue gun. Here is my inspiration:
Print on burlap
This was a fun idea! The girls used water colors and painted on coffee filters. I then helped them to cut out hearts. We then used stick glue to temporarily put them on the window. We then mixed tempura paint with a little dish soap to make window paint so they could paint on the window too. The great thing is that you can use this to make all sorts of other shapes and themes.
This was a fun and super super easy art activity. I just used tape to make each letter, then let the girls paint over top. Once the paint is dry, you just remove the tape. I then pieced them together and used decorative duck tape as a border. Here is my inspiration:
Tape letter art
Jake and I did this one together. We needed something to fill the large space above our couch and didn't want to spend too much money. We have a lot of scrap wood left over from building our porch so we followed the steps from one of my favorite craft blogs
Shanty 2 Chic. They made their letters using a Cameo which I don't have so I printed out the words and transferred them onto the wood by tracing hard with a pencil (my hand was very tired afterword). I then went back over with paint. Here is another idea for transferring words onto wood which I used to make my outdoor sign below:
Words onto wood
I have made quite a few tutus now. They are super easy and cheap and are great for dress up. Here is how:
DIY tutu


No comments:
Post a Comment